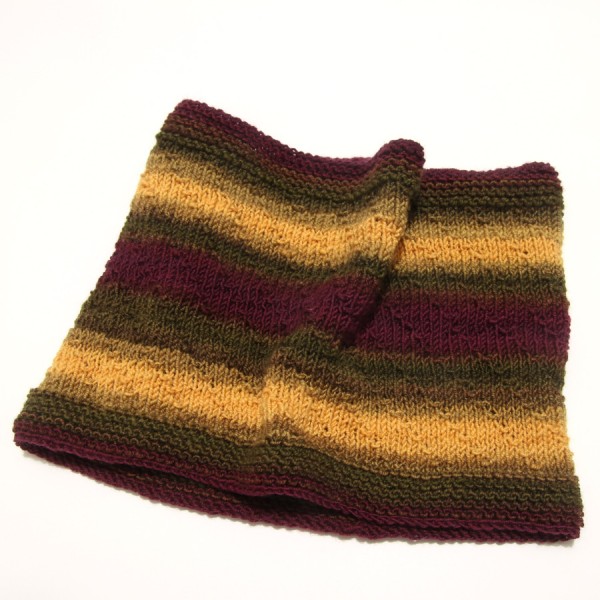
In the first few episodes of the Give Me A Crown podcast I’ve spoken about the process of spinning this merino fibre and knitting it in to a cowl. This post will go in to more depth about the steps as I took photos along the way (in various lighting conditions so please forgive the quality of the shots), and I’ll explain the moment of clarity that I had about ways to spin gradient yarn for one-skein projects to maintain the gradient.
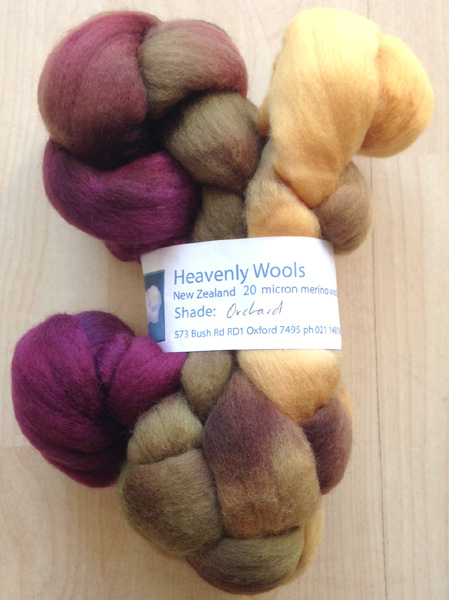
When I opened up the fibre braid I found that it was a gradient with purple at one end, yellow on the other, and green in the middle.
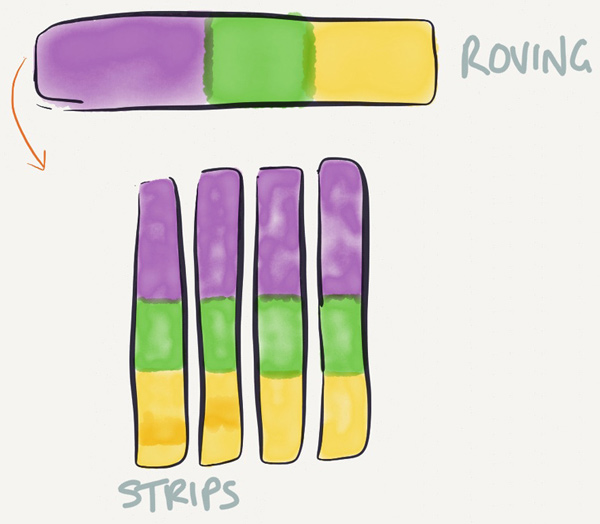
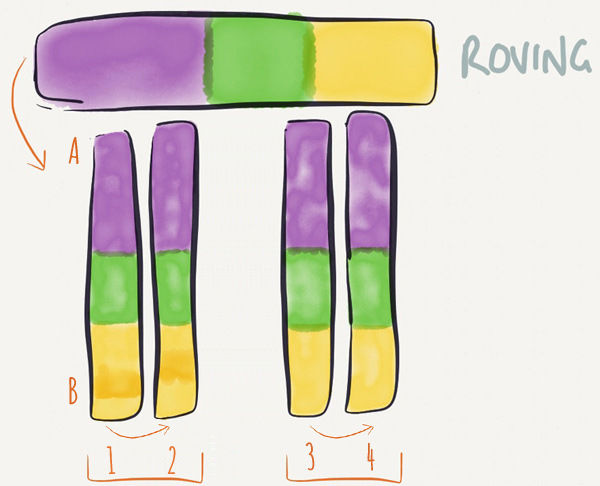
To make the spinning more manageable, I split the fibre in to four lengths so that each maintained that gradient. I used a short forward draw and spun the first strip on to a bobbin starting from the purple end, and, intending to make self-striping yarn, I spun the second strip in the same direction so I joined the yellow end of the first strip to the purple end of the second strip.

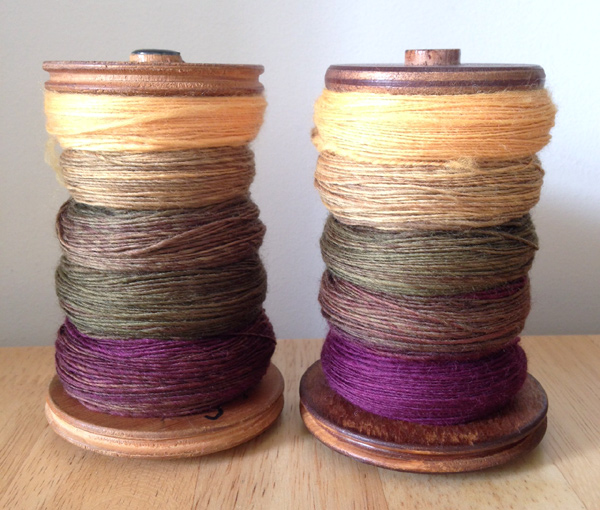
This approach looked good (but keep reading, this is not how I’ll how do it next time), so I finished the first bobbin, and spun up the second in the same way and, remembering some vague mention about letting handspun rest (why? I can’t remember), I let the bobbins sit around for a few days.
This is when I realised a significant mistake.
I had begun spinning without research but at the back of my head I was keen on creating a 2 ply self-striping yarn. As I stared at the bobbins I realised that I hadn’t weighed the fibre strips, nor thought about the quantities of fibre in each section, so there would be different lengths of colour in each bobbin. 2 plying these two bobbins together would create a barber pole effect in some sections of the yarn.
I was tempted to give it a go anyway but I was starting to love the colours on their own so I decided to chain ply each bobbin separately. This approach created a three-ply yarn but the gradient was more manageable.
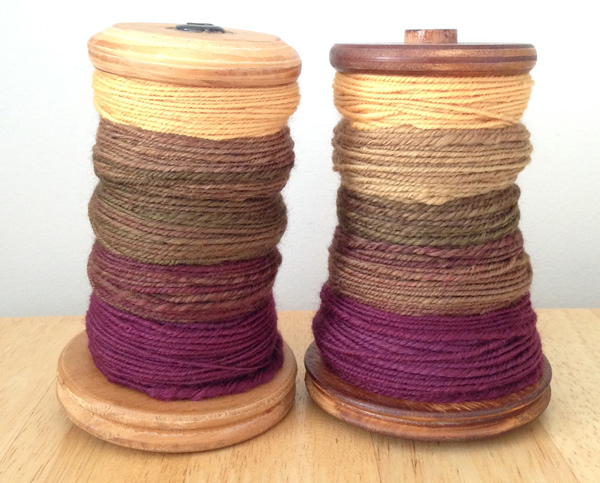
There’s a small amount of barber poling visible when the colour shifts however the closeness of the colours means the length of the change is short (and with practice I’ll get better at adjusting the placement of the chain for more accurate plying at colour changes).
However the place where I had joined the first fibre strip to the second had a longer stretch of obvious barber poling (there’s a photo further down this post). I decided I could live with it and let the bobbins rest for a few days.
I then wound the each bobbin separately on to my little niddy noddy, added a few ties, gave the two skeins a soak, a little thwack, and hung them up to dry.
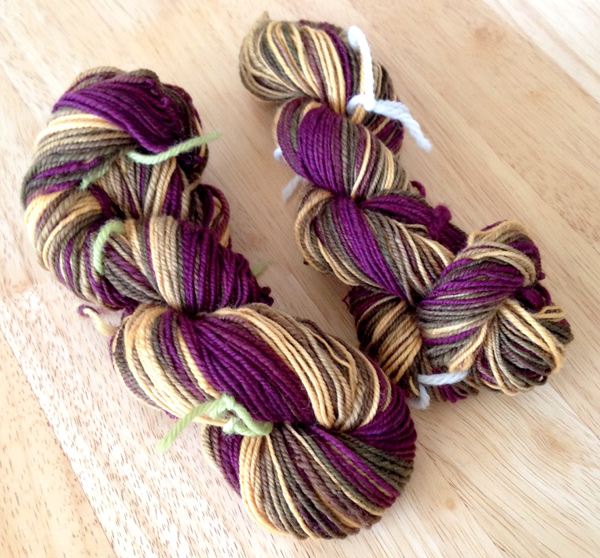
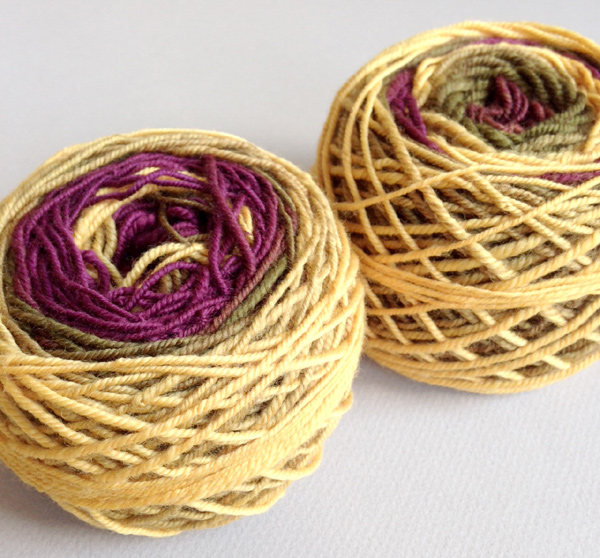
I was so happy with my skeins that I wanted to cast on straight away. I measured the yarn and found it to averaged around a DK weight with 11 wraps per inch, and then wound them in to cakes with my ball winder.
I’d never knit a cowl before so I bought the Handbrake pattern (a beginner-friendly cowl with the proceeds going to Cancer Research), cast on, and quickly remembered my love of knitting with handspun. This merino was super soft to touch and handled beautifully so I knit away at super speed… but then I came to the join between strip one and strip two.
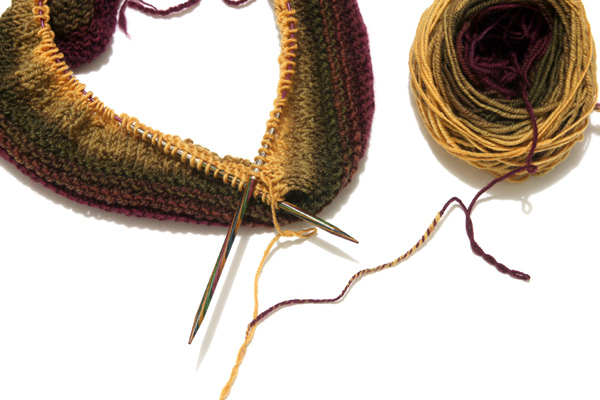
With more spinning practice (or perhaps even just slowing down and taking time at the spot) I could have avoided the barber pole stripe in my yarn.
I stared. Stared some more. Asked myself would I be happy with an inch of mottled stitches in my cowl.
Then the realisation hit me that the yellow I was knitting with was exactly the same as the yellow on the outside of the yarn cake. I decided to cut the working yarn, join the yellow from the outside of the yarn cake, and then my gradient would return back from yellow through green to purple.
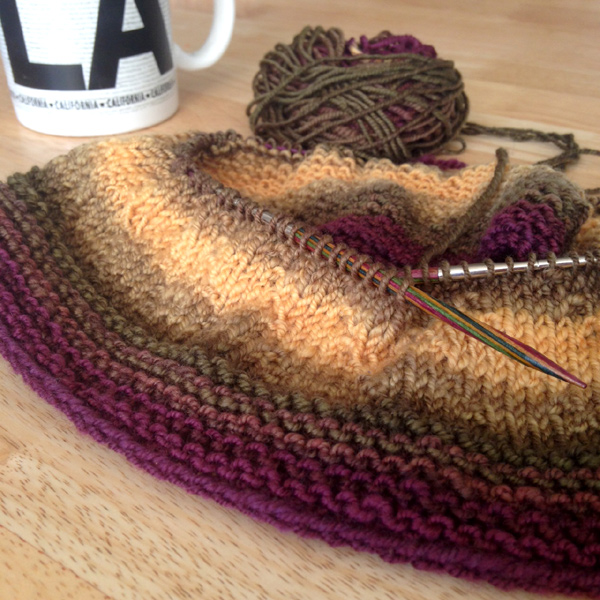
My second yarn cake would begin at purple again and I could do the same approach with that. So that’s what I did.
To repeat this approach with less fiddliness, I would take the original fibre, split it in to four strips lengthwise, and then spin from end A to B on strip 1, but from end B to A on the second strip in order to make the gradient flow back on itself on one bobbin, then repeat it for strips 3 and 4 before chain plying.
As for the resting of the singles and plied yarn, I think that leaving them on the bobbins for a few days between steps gave my yarn a firmer feel. I had over plied some of the yarn which may have contributed to that, but it knit it up very well even if occasionally I had to let some of the twist out (there’s a photo of my untwisting method in an earlier post). Overall I’m thrilled with how it turned out.
Next time I think about creating a 2-ply self-striping yarn, I’ll do research before I begin (… maybe) :)
